
Using the App in Shopify POS
POS Cafe adds tiles to the Shopify POS Home screen so your staff can sell customisable items, such as barista drinks, with every modifier on one screen. This guide covers the three tiles, how to add them, and how to sell an item. POS Cafe works on both Shopify POS Lite and Shopify POS Pro.
The three tiles
Section titled “The three tiles”| Tile | What it does | Add it when |
|---|---|---|
| POS Cafe | Sells your cafe items with modifiers. Adds the real Shopify product to the cart, so stock, reports and loyalty apps see every product and modifier sold. | You want Shopify to track inventory, report by product or run a loyalty program. The right choice for most cafes. |
| POS Cafe - Lite | The same screens as POS Cafe, but adds each item as one custom sale line. Slightly quicker at the counter, with shorter customer receipts. | You don’t rely on Shopify’s stock, product reports or loyalty for cafe items. |
| Send to prep | Sends the items in the current cart to your receipt printers and Fresh KDS before the customer pays. | You run table service or open tabs. Add it alongside one of the two tiles above. |
For a detailed overview of the differences between POS Cafe and POS Cafe - Lite, including inventory, reporting, loyalty, receipts and speed, see POS Cafe vs POS Cafe - Lite. Add one of those two tiles for selling, not both: each can only edit the items it added, and mixing them splits your reporting.
What the selling tiles look like
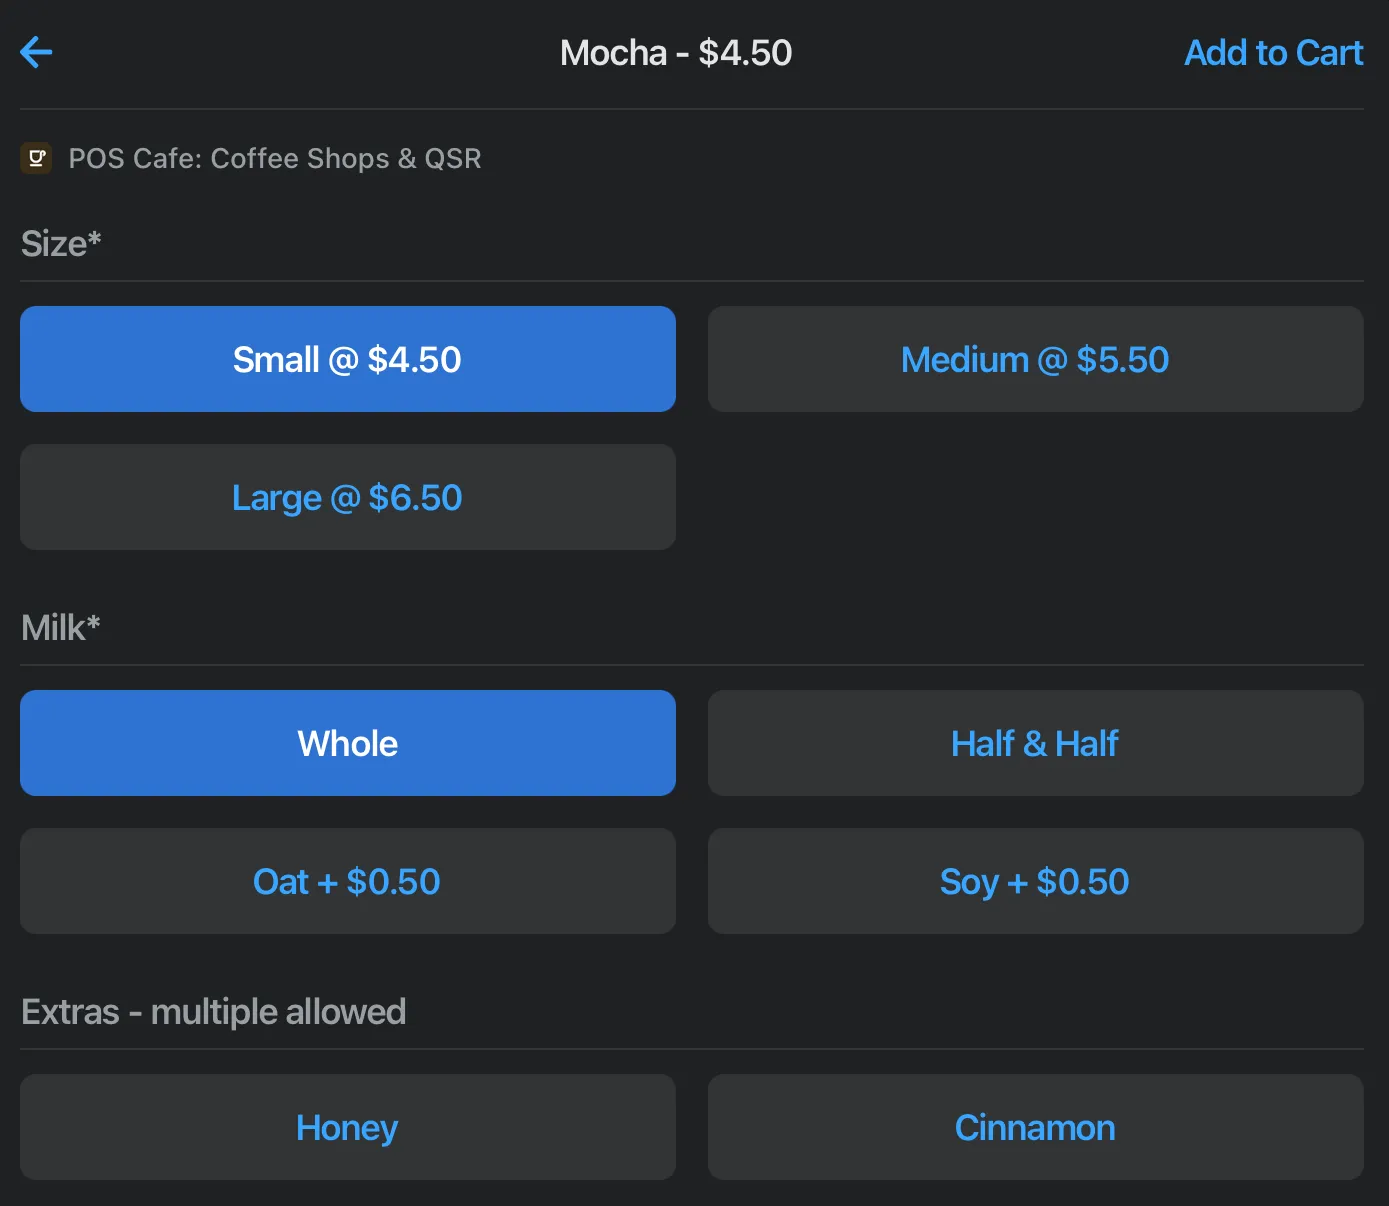
Section titled “What the selling tiles look like”POS Cafe and POS Cafe - Lite share every screen and setting: your cafe collections, product search, modifiers, customer name and notes, order types, tables, cafe discounts and editing items in the cart. When staff choose a product, all of its modifiers are shown on a single page, so an order with several customisations takes a few taps.
Send to prep
Section titled “Send to prep”The Send to prep tile sends the items in the current cart to your printers and Fresh KDS before checkout, so the kitchen can start while a table is still open. Tap it again later and only the new items are sent. The tile shows Add items to the cart when the cart is empty, and Not set up at this location · tap to check again when the current location has no printer or Fresh KDS screen it can send to. See Send to Prep for the full guide.
Adding a POS Cafe tile
Section titled “Adding a POS Cafe tile”-
Add a tile. In Shopify POS, tap Add tile on the Home screen.
-
Tap App.
-
Choose POS Cafe.
-
Pick your tile. Choose POS Cafe, POS Cafe - Lite or Send to prep, and tap Add on each tile you want. Add one of the two POS Cafe tiles for selling items, plus Send to prep if you run open tabs.
-
Tap Save.
Selling an item
Section titled “Selling an item”-
Open the tile. Tap the POS Cafe (or POS Cafe - Lite) tile on the Home screen.
-
Select the collection that holds the product. The Cafe Collections screen also has a Search for a product field. If you use table management, the Table bar on this screen lets you Assign a table to the order.
-
Select the product.
-
Choose the modifiers. Every modifier available for the product is on one screen. Tap the options the customer wants. Required modifier sets are marked with an asterisk (*), and sets that allow more than one choice show multiple allowed.
-
Add to cart. Optionally enter a Customer Name and Notes. To order more products with modifiers, select Add & Order More. To check out, select Add & Go to Cart.
-
Check out. Check the customer out as normal on Shopify POS.
After the sale
Section titled “After the sale”To change an item that’s already in the cart, use the tile’s Edit item button (see Editing Items in the Cart). If a menu change in Shopify admin isn’t showing on the device yet, refresh POS Cafe.